AI Room Design Workflow: Visualize, Test Styles, Decide
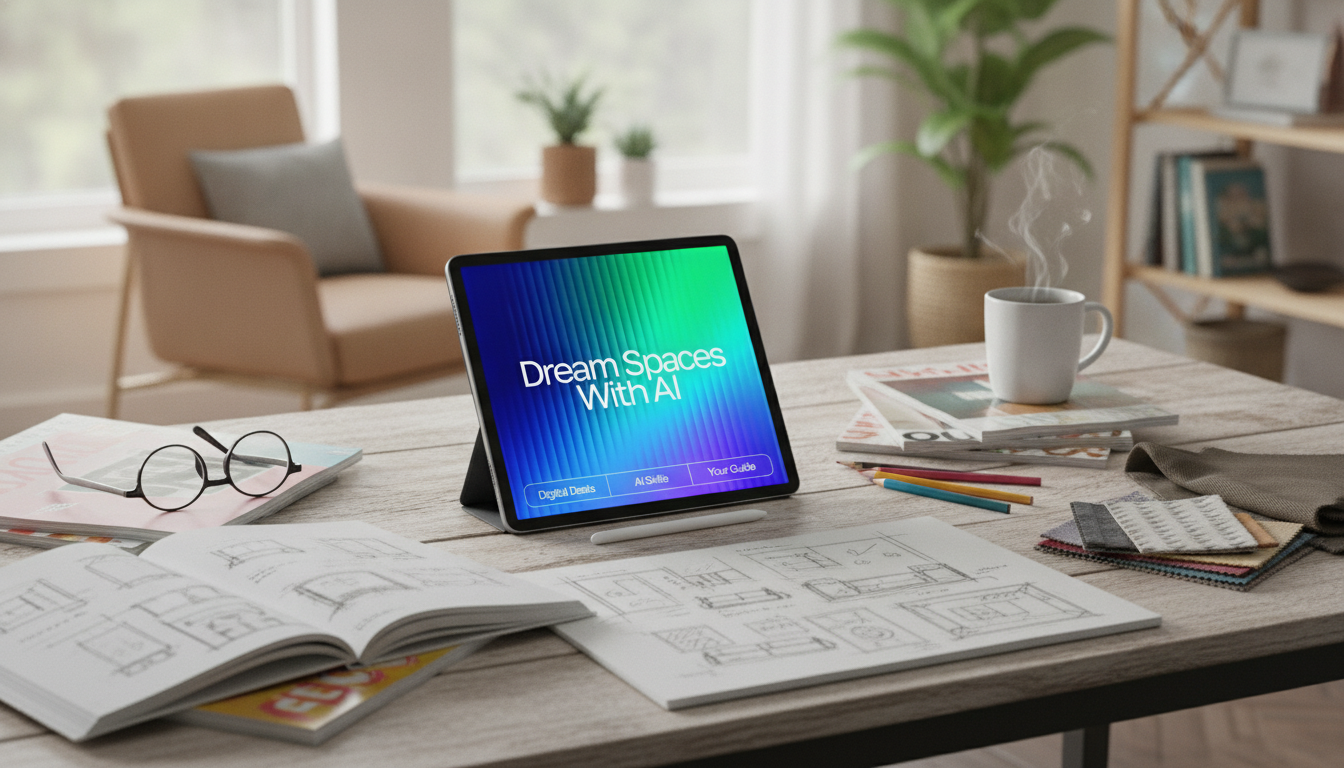
Dream Spaces with AI: A Simple System for Visualizing Rooms, Testing Styles, and Making Confident Design Choices
Design decisions feel easier when ideas can be seen before money is spent. This guide-centered approach uses AI as a creative partner for brainstorming layouts, exploring color and lighting, and visualizing multiple directions fast—while keeping results grounded in real measurements, budgets, and practical next steps.
What “AI-assisted home design” actually helps with
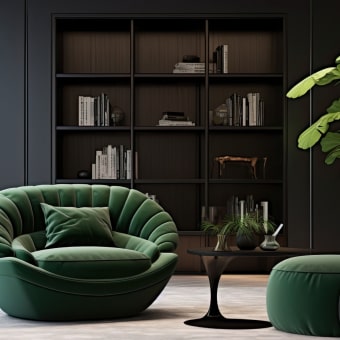
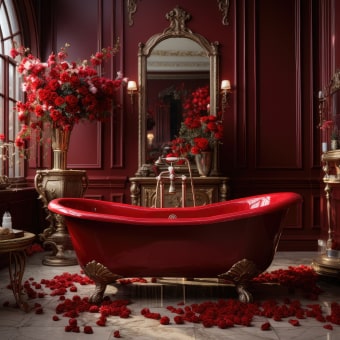
- Rapid style exploration: Generate several cohesive directions (modern, Japandi, transitional, eclectic) from the same room constraints so you can compare “vibes” without redoing your whole plan.
- Visualization: See rough “after” concepts before buying furniture, paint, or decor—especially helpful when a room feels flat on paper.
- Iteration: Adjust one variable at a time (sofa color, flooring tone, lighting temperature) to compare outcomes without accidentally changing everything at once.
- Decision support: Narrow choices with practical checklists (function, flow, storage, maintenance, pet/kid durability) so the result fits real life.
- Communication: Share clearer concept references with household members or contractors, reducing “that’s not what I meant” moments.
Start with a strong room brief (the inputs that improve results)
AI outputs improve dramatically when the room is defined like a mini design project rather than a vague request. Collect these inputs before generating concepts:
- Room basics: Dimensions, ceiling height, window/door locations, and immovable items (radiators, built-ins).
- Function: Daily activities, number of users, and must-haves (desk zone, reading chair, play area, mudroom storage).
- Constraints: Budget range, timeline, renter-friendly limitations, and what must stay.
- Style references: 3–5 inspiration images or a short description of materials, mood, and color preferences.
- Practical preferences: Cleaning tolerance, pet hair visibility, allergy considerations, and light sensitivity.
For lighting-related inputs, it helps to know the bulb types you can use and what “good light” means beyond brightness. Resources from The Lighting Research Center (LRC) and the U.S. Department of Energy can help you sanity-check color quality and basic lighting choices before you commit.
A repeatable workflow: from idea to a plan you can act on
Use the same sequence each time so your concepts don’t drift away from reality.
Step 1: Capture the space
Take photos in natural light, one wide shot per corner, plus a short video pan. Add one evening photo if the room is used at night.
Step 2: Define priorities
Pick the top three outcomes (for example: “more storage,” “brighter feel,” “better seating for guests”). Treat everything else as optional.
Step 3: Generate multiple concept directions (3–6)
Label each direction clearly (e.g., “Warm Modern,” “Soft Traditional,” “Moody Eclectic”) so feedback is specific.
Step 4: Select one direction and iterate
Refine in this order: layout first, then materials, then lighting, then decor. This prevents buying pretty items that don’t fit the room’s flow.
Step 5: Reality check with measurements and clearances
Verify walkways, door swing, rug sizing, and viewing distances. A taped floor plan or quick sketch keeps the “pretty picture” from becoming an awkward room.
Step 6: Translate into a shopping and execution list
Convert the concept into categories: paint, lighting, key furniture, textiles, hardware. This turns a visual into a to-do list you can complete in stages.
Inspiration-to-visualization templates you can reuse for any room
- Style remix: Keep the layout, change only the style (Scandinavian → warm modern → vintage modern).
- Colorway testing: Generate five palettes around a fixed sofa or fixed floor finish.
- Lighting scenarios: Daytime, evening ambient, task lighting, and accent lighting versions.
- Storage upgrades: Add closed storage without shrinking the room (entry, living room, bedroom).
- Small-space multipurpose: Support two functions with clear zoning (studio, guest room + office).
Room-by-room focus: what to ask for and what to verify
| Space | Best output to generate | What to verify before buying |
|---|---|---|
| Living room | 3 layout options + rug/sofa scale guidance | Walkways (30–36 in), TV viewing distance, sofa depth vs. room length |
| Bedroom | Calming palette + lighting plan + storage wall idea | Bed clearance, nightstand height, blackout needs, outlet access |
| Kitchen | Material combos + lighting + minor refresh concepts | Appliance clearances, backsplash durability, lighting CRI, cleaning ease |
| Home office | Ergonomic layout + cable management + backdrop styling | Desk height, chair clearance, glare control, acoustics |
| Entryway | Drop-zone system + shoe/coat storage + mirror placement | Door swing, bench depth, hooks height, rug grip/safety |
Make AI results look cohesive (without making the room feel staged)
Avoid common pitfalls when generating and choosing concepts
For a helpful reminder that AI outputs should be checked, documented, and managed like any other decision tool, see the NIST AI Risk Management Framework for a practical lens on risk, reliability, and verification.
Turn a favorite concept into a practical shopping list
Digital guides to speed up decisions
- Dream Spaces with AI digital guide ($6.99): A ready-to-follow workflow for developing concepts, refining them, and visualizing multiple directions quickly—built for real rooms, real budgets, and practical next steps.
- AI Tips to Elevate Your Writing Voice ($4.99): Useful when you want your style descriptions, renovation notes, or contractor messages to be clearer and more consistent across decisions.
FAQ
Do AI room visuals match real life exactly?
No—AI images are concept mockups, not guaranteed-to-scale renderings. Accuracy depends on your inputs, so verify measurements, clearances, finishes, and lighting with real samples before purchasing.
What photos and details produce the most useful design concepts?
Use wide shots from each corner, a natural-light set, and at least one evening shot, plus room dimensions and notes on what must stay. Add a budget range and 3–5 reference images so the concepts don’t drift from your preferred style.
How can a renter use AI design ideas without permanent changes?
Focus on reversible upgrades like removable wallpaper, peel-and-stick tiles, curtain panels, rugs, art, and modular storage. Layout changes, lighting swaps with landlord-safe options, and cohesive textiles can deliver a major refresh without permanent alterations.


Leave a comment